Pottermore Potions

(Click to enlarge)
How to Brew Potions on Pottermore
One way to gain points in Pottermore is to brew potions. You will earn different points for brewing different potions. Furthermore, each potion takes a certain amount of time to brew. You can earn the most points per hour with the least interruptions by making the Sleeping Draught. There is a great video tutorial on the PotterRoar web site. That is how learned to brew potions, and they have other tutorials as well. I find it a very handy site for all things Pottermore.
Preparing to Brew Potions
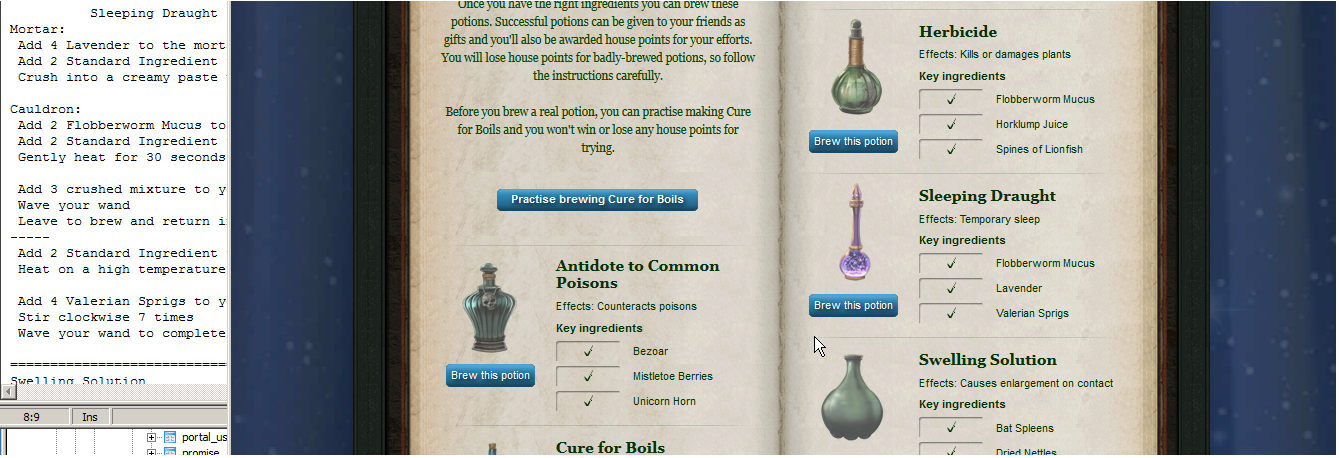
I find it helpful to have the brewing instructions available to look at between steps. You can always click on the recipe, but that takes time. By having the instructions next to the browser means I can check what is next while I am using something that doesn't require close watching. When you first start brewing a potion, you will need to review the individual steps closely as you go. The more you make the potion, the less you will need detailed instructions, but can still use helpful hints.
I created a text file with
the brewing instructions for the Sleeping Draught,
which I keep in the upper left of my screen,
with the browser window positioned so that that
enough of the instructions are visible that I can make the potion.
(Click to enlarge)
First Part of Brewing Potions
You will notice that I added some additional comments to the recipe that groups some steps together. I found it easier to keep track of where I was in the recipie by lumping several steps together. For example, the first step is to crush Lavender and Standard Ingredient in the mortar. The next step is to heat Flobberworm mucus and Standard Ingredient in the cauldron. The third step is to combine the crushed mixture into the cauldron and wave your wand. Before I start each step, I glance at my cheat sheet to make sure I am remembering what to do next. Nothing is more frustrating than getting most of the way through a potion, only to mess up by forgetting a step.
If you are having problems at this point, I suggest you view the video tutorial on PotterRoar a few times until you are comfortable that you know what needs to be done.
Collecting Ingredients for the Next Potions
At this point, I set a count-down timer for 52 minutes
to remind me when to come back to the potion.
I also collect the ingredients that I will need
to brew my next potion.
I click on the "Pottermore" link to return to the home screen,
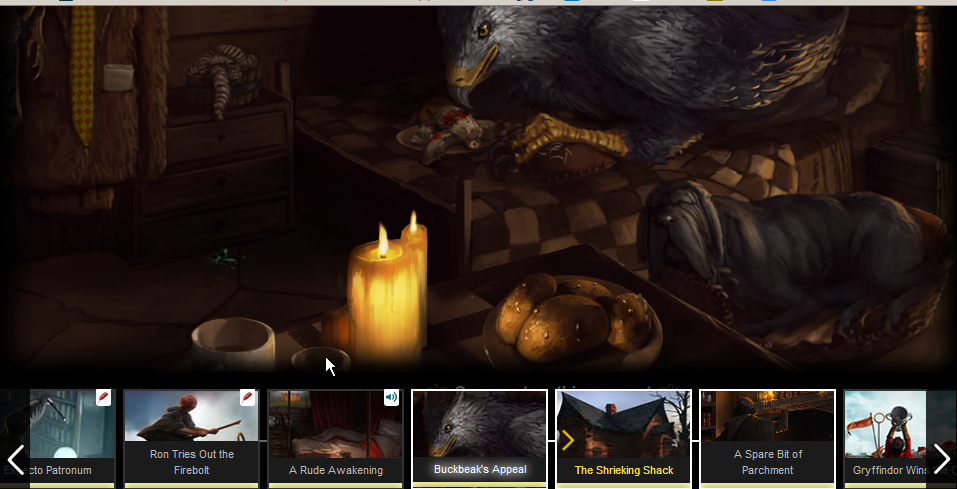
and the click on "Buckbeak's Appeal" to enter that moment.
If I see a green substance on the floor next to the worms,
I double-click and collect the mucus.
(Click to enlarge)
If Flobberworm mucus was available,
that probably means that Lavender and Valerian are also available.
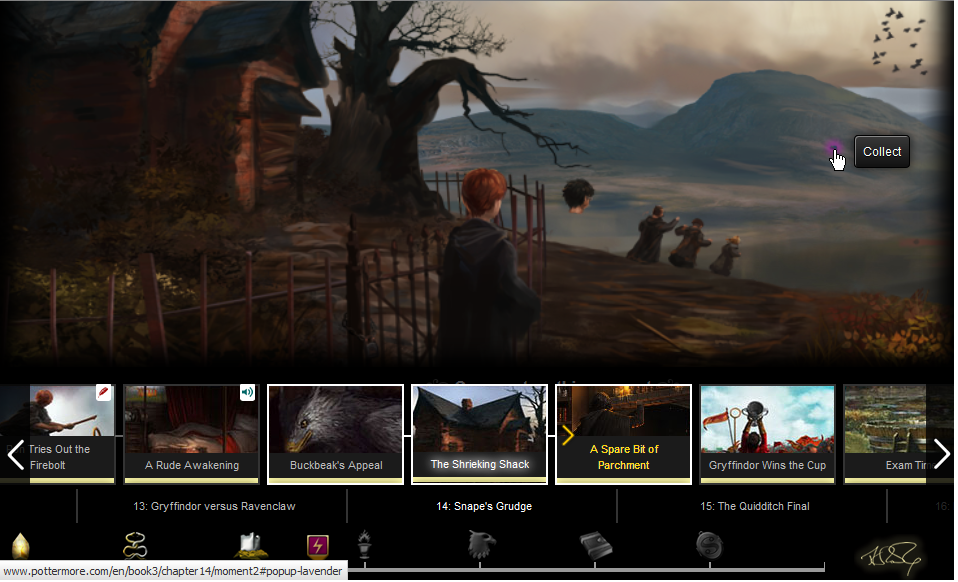
I then go to "The Shrieking Shack" moment,
where I also double-click and collect the Lavender
(Click to enlarge)
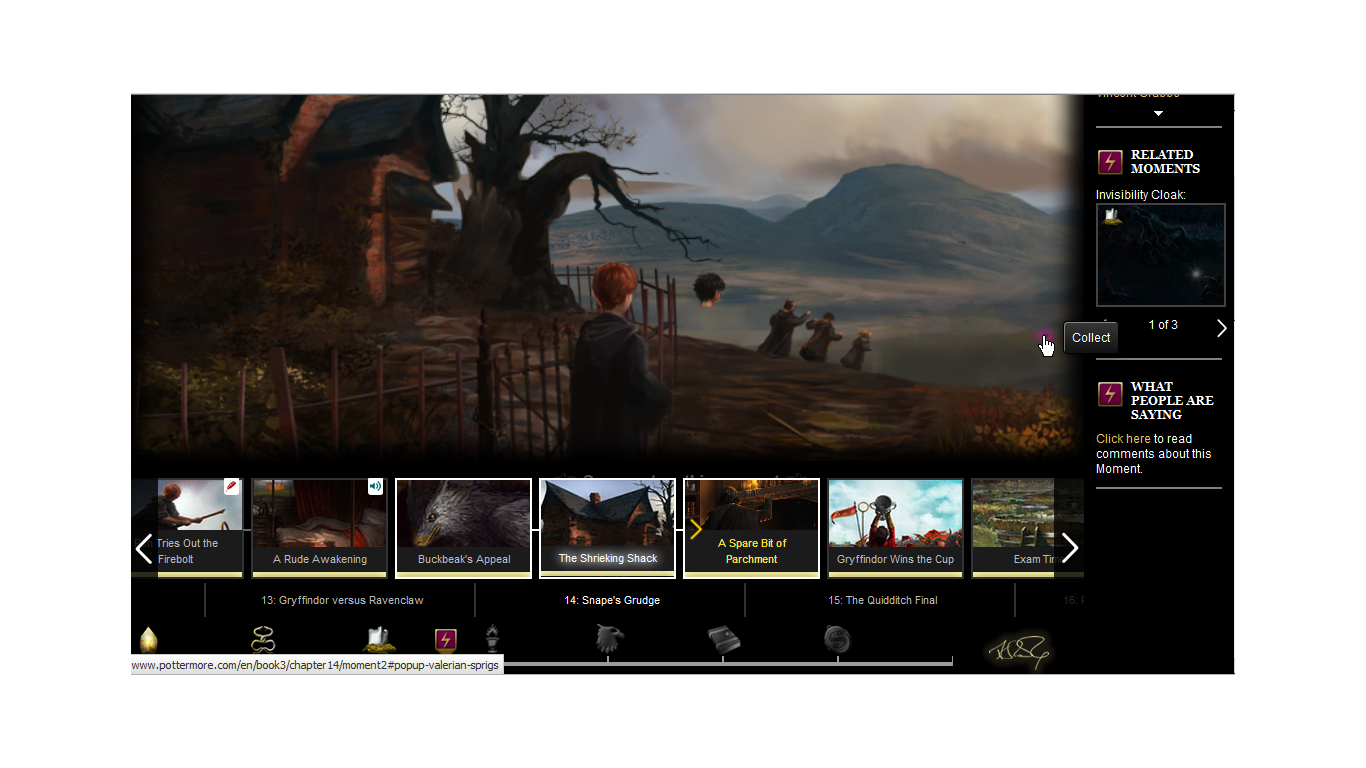
and then I collect the Valerian Sprigs
(Click to enlarge)
Finally, I return to the Potions screen,
scroll down to make sure I have all the ingredients needed
for my next potion,
and then click on "Cauldrons",
which displays how far along the potion has been brewed.
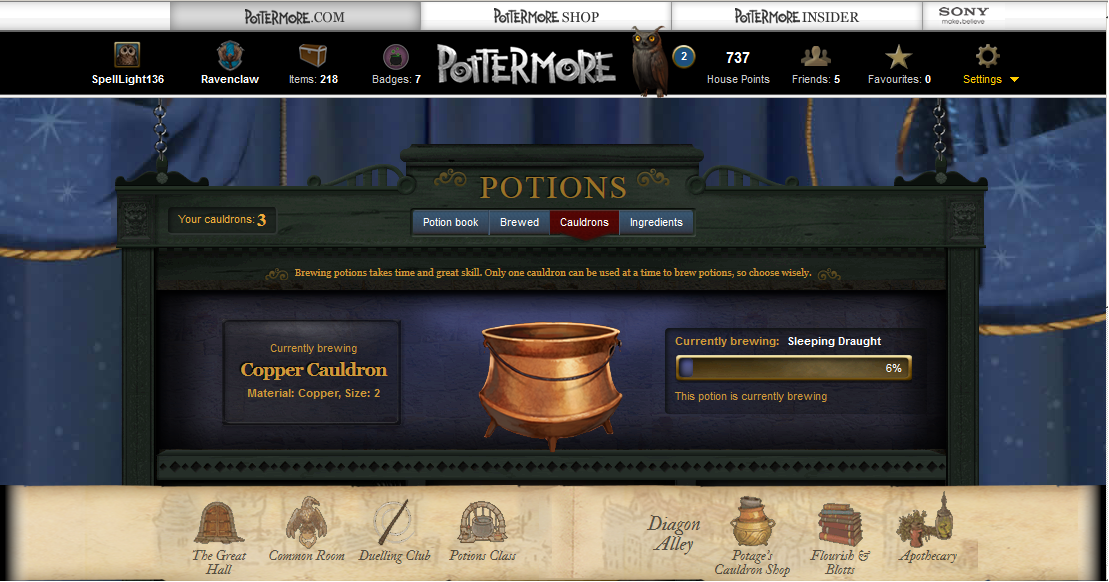
(Click to enlarge)
At this point, there is nothing to do until the timer goes off. You can practice dueling, do further reading and exploring, etc. I generally do something non-Pottermore (I'm terrible at dueling), such as reading email, programming, and reading articles.
Finishing the Potion
Once the timer goes off, you will have about half the brewing time to begin work on the second half. Since the Sleeping Draught takes 52 minutes to brew, you will have another 26 minutes to start the second half.
We start the second half by adding 2 Standard Ingredients to the cauldron and heating it. Then we add 4 Valerian sprigs, and stir the potion clockwise 7 times. We then finish up by waving our wand. If all went well, you will gain 11 house points.
You can now click on the "Potion Book" tab and start to brew another Sleeping Draught. Once you get into the hang of things, you should be able to brew a new potion about every hour.
Tips for Brewing Potion
Here are some things that I have learned to watch out for.
- Brewing is independent of your current browser session
- You can close your browser, reboot your computer, or even use a different computer to finish brewing a potion. Simply login to Pottermore from any nearby computer, go to Potions Class and do the second half of the potion.
- Don't Trust the Percent Complete on the Cauldron Page
- Whenever it gets up to 98% or 99%, the guage seems to be behind the actual progress. That is why I use a count-down timer.
- Pay Attention to What Ingredient you are grabbing
- I always look at the ingredient while I drag it towards the destination.
- It is very easy to get the wrong ingredient if you aren't careful. I can usually catch these types of mistakes since the ingredients look so different. If you are supposed to be adding Lavendar and the ingredient looks white, discard the ingredient and try again.
- I find it easy to mix up the dry ingredients with one on either side. So, instead of adding Standard Ingredient, I might get Valerian, or vice versa. Watching the ingredient as you drag it is a good way to catch those kinds of problems.
- Start Heating on High
- When heating ingredients, I always start by pressing the red (high) button, and then switch to medium as soon as the temperature is near or reaches the lower limit. From then on, I alternate between off and medium until the time is up.
- If you don't start on high, you will never complete a Sleeping Draught potion before the timer runs out.
- There is no prize for getting close to the temperature limit
- Don't see how close you can get to the temperature limit. You get nothing for your efforts, but you might ruin your cauldron and have to buy a new one.
- There are small lines on the thermometer between the upper and lower limits. I generally keep the temperature between the first marks on either side. The first time, I usually stop about halfway before the top mark, since that is when the thermometer can be sporatic.
- I make it a habit of hovering the mouse over the next button I will press. So, when heating, my mouse is over the "Off" button, and when cooling, the mouse is over the "Medium" button. That way, if you accidentally click the mouse, there is no harm. You are better keeping the temperature towards the middle of the range than anywhere near the end limits.
- Don't Get distracted when heating your potion
- Getting distracted when heating is a great way to ruin your cauldron. Ignore all distractions when you are heating.
- I have a pop-up window that appears on my computer when new mail arrives. Even a quick glance to see who is the sender has caused me to trash my cauldron.
- I also lost several cauldrons because the phone that was next to me rang.
- Make Sure the Burner is Off When You are Done
- Normally, the burner is turned off when the time is over. If you click on the medium button near the end of the time period, sometimes it will remain on, even after the thermometer goes away.
- If that happens, click on the "off" button, but some times the "off" button won't work.
- Ideally, you should time it so the temperature has just reached the top of the range and is going down when the timer expires.
- Double-check where you are in the recipe
- If you are having trouble keeping track of where you are in the brewing process, you can always mark which step you are on in the cheat sheet.
- Of course, you could also click on your potion book to see the recipe, which will have all the steps crossed off that you have completed. Don't spend too much time reading the directions; that is how you can run out of time.
If you find any typos, or have any suggestions or comments, send e-mail to [email protected]
© 1999-2014
Bill Pringle.
Hosting courtesy of
CHCS Consulting.
This site best viewed with FireFox.

